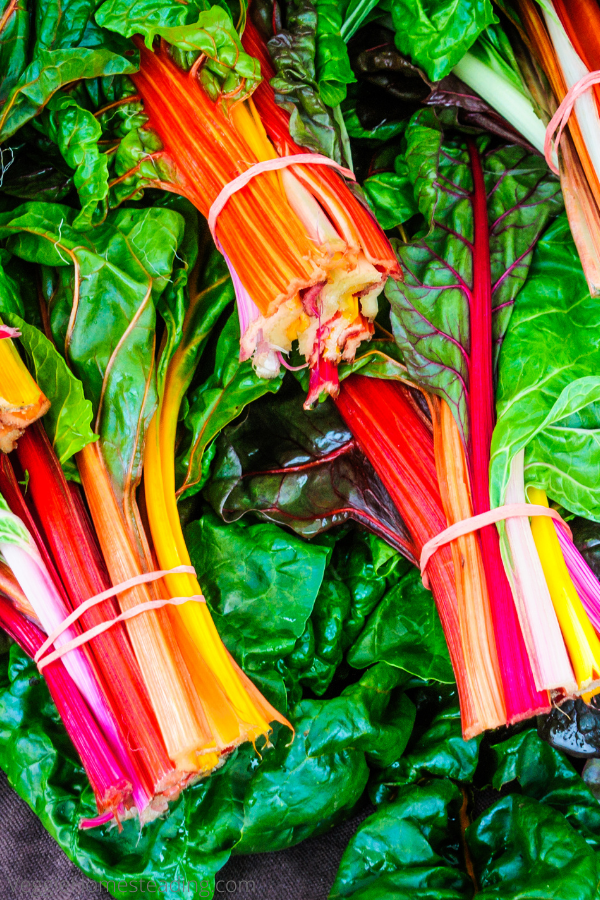
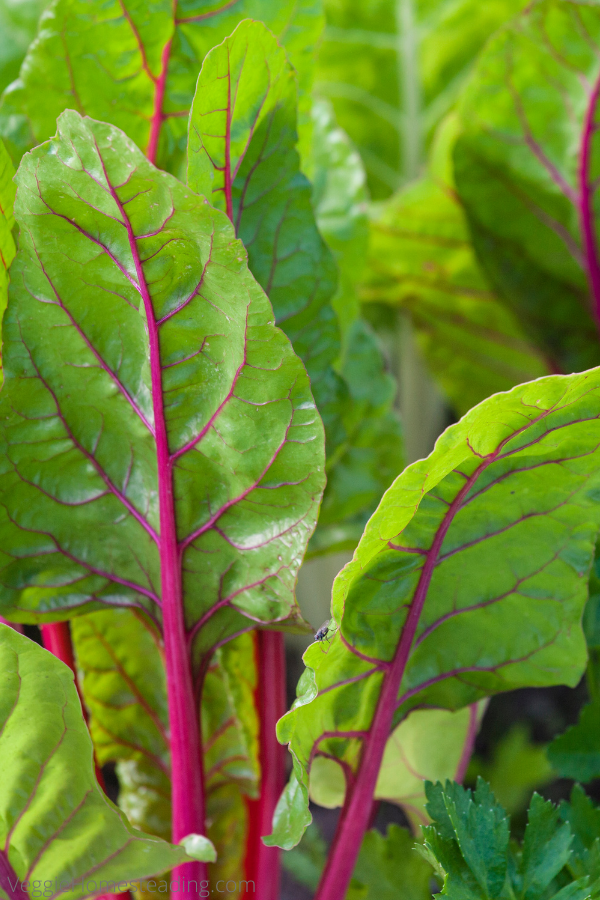
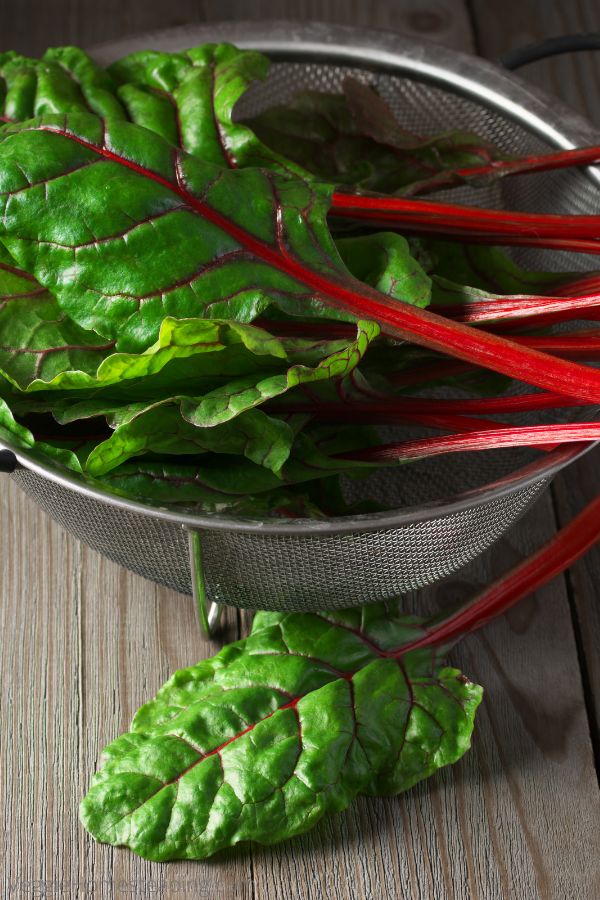
Swiss Chard is a versatile green leaf vegetable full of vitamins. Swiss Chard is great for salads, roasting, or as a side dish. These are the best tips for planting and growing swiss chard in your garden or greenhouse.

Botanical Information: Brassica oleracea var. sabellica
Quick Facts:
Varieties:

Starting:
Swiss Chard can be started indoors 10 to 16 weeks before the last spring frost. Sowing seeds in early spring or late summer for a fall or winter crop.
Spacing:
Sow the seeds 1/4 to 1/2 inch deep in the soil. Sow seeds 4 inches apart. Later, when the seedlings start to grow, thin the seedlings to 16 inches apart. You can use the leaves that you pull, can be eaten.
Companions and Enemies
The plants that can help swiss chard grow and flurish are:
Artichokes
Beets
Celery
Cucumber
Lettuce
Plants that are not helpful for planting swiss chard are:
Broccoli
Cauliflower
Brussels Sprouts
Kale

Watering :
Swiss Chard is a fast grower, so keep the soil moist by giving it 1 to 1.5 inches of water each week.
Light:
Swiss Chard will need up to eight hours of light each day, they can also handle full sun.
Pollination:
Swiss Chard is self-incompatible and only uses cross- pollinating. They are pollinated by insects. If planted in a greenhouse, you can help pollinate the plants by shaking or adding wind to the room.

Common Problems
Cabbage White butterflies
Drooping Leaves
Harvesting
Swiss Chard is ready to harvest when the leaves are about the size of your hand. You can pick a fistful of leaves per harvest. Swiss Chard will continue to grow until it is 20 degrees F. This will continue to grow even after portions are harvested.
Storing & Preparing
Swiss Chard can be stored in the fridge for a few weeks. Swiss Chard is delicious fresh in salad, in pasta or steamed as a side dish.
Planting and Growing Swiss Chard can be easy with these tips.


Leave a Reply