How to Dehydrate / Dry Herbs
Drying herbs is fun, easy and simple to do! Whether you are trying to prolong the life of your prized homegrown herbs or you want to make a seasoning blend from scratch, dehydrating herbs is the way to go.
While this article goes into great detail of how to dry herbs using a food dehydrator, there’s nothing preventing you from drying your herbs in the comfort of your own home using alternative methods that have also been listed below.
Here’s why you should start dehydrating your own herbs:
- It will save you money buying store-bought seasoning blends
- You have easy and quick access to a supply of herbs anytime you need them
- You get to benefit from healthier homemade seasoning blends since commercial brands usually contain hidden sugars and other ingredients you don’t need
- It will only take you 1-2 hours to dry your herbs using a food dehydrator
- Of course, it’s also extremely satisfying drying your own herbs!
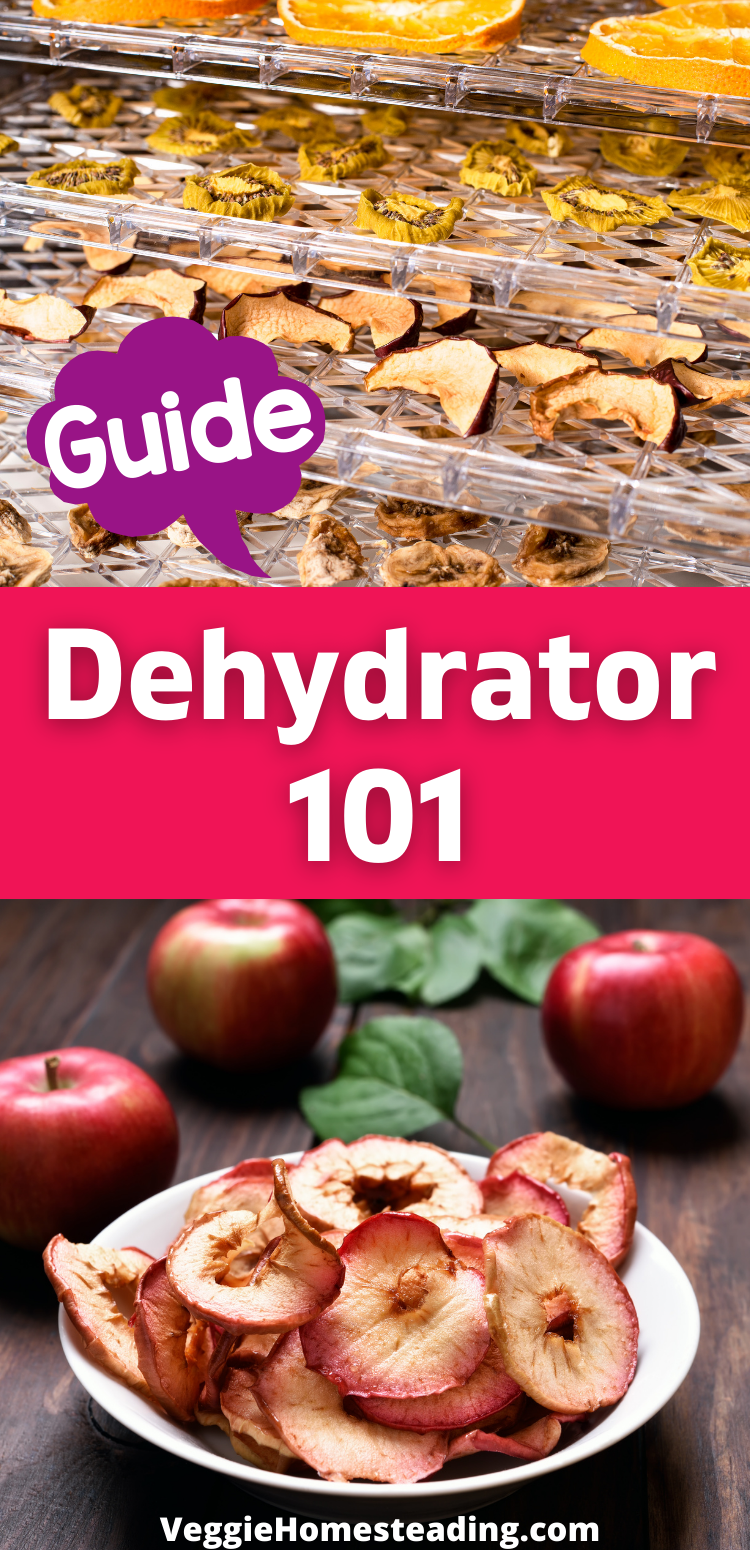
While this article focuses on dehydrating herbs, if you are new to dehydrating and are looking for a good resource to better understand how to start, have a read of Dehydrating 101: Beginners Guide To Dehydrating.
In this article you’ll find:
- Whether dehydrated herbs are as healthy as fresh
- How to prepare your herbs for dehydration
- Step by step directions for dehydrating herbs in a food dehydrator
- The time it takes to dehydrate herbs
- Alternate methods to dry herbs without a food dehydrator
- How to store dehydrated herbs
- Ways to enjoy dehydrated herbs – includes blends like Italian seasoning etc.
- Whether there’s any point to rehydrating dried herbs
Whether Dehydrated Herbs Are As Healthy As Fresh
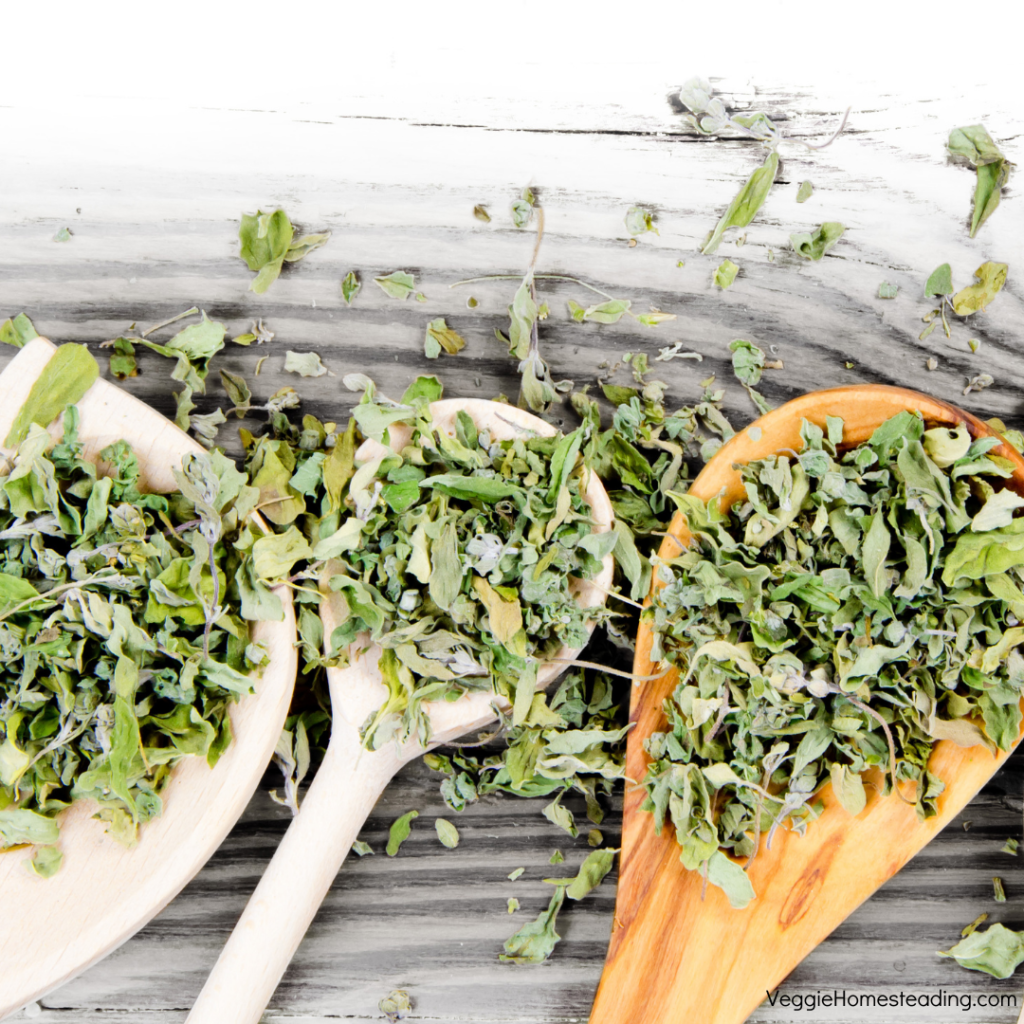
Dried herbs offer the same, if not more, nutritional benefits as fresh herbs do. The drying process actually concentrates the organic compounds present in herbs so you won’t need to overdo it when adding your dried herbs into recipes.
The one thing to note about dried herbs is that they tend to lose some flavor if stored longer than a year so it’s best to make use of them within that time frame.
How To Prepare Your Herbs For Dehydration
Preparing herbs for drying can be a really therapeutic experience. There’s nothing better than having your own supply of dry herbs (either from herbs freshly picked from your own garden or store-bought fresh herbs).
The preparation for drying herbs is, however, slightly different than preparing fruit and vegetables for adequate dehydration. Here’s how to ensure best results for your dry herbs:
Ways To Prepare Herbs For Dehydration
#1. Pick or Buy Your Fresh Herbs
If you have homegrown herbs, then the best time to pick them from the garden is in the morning after the dew has evaporated. This will help to reduce the moisture factor for drying. Obviously this doesn’t apply if you are purchasing fresh herbs from your local grocer.
#2. Clean Your Workspace and Surfaces
Make sure that you have a clean workspace and that all surfaces have been wiped down. I always opt for eco-friendly cleaning products instead of harsh chemicals as I don’t like the idea of harsh chemicals coming into contact with food at any stage of preparation.
Having a clean workspace will also reduce the chance of other contaminants coming into contact with your fresh herbs which will affect the longevity and quality of your dried herbs.
#3. Wear Gloves When Handling Your Herbs
It’s generally good practice to wear latex or vinyl gloves when handling food for dehydrating purposes as our hands have natural oils and moisture that can be transferred to whatever food you handle which is not ideal for eradicating moisture during the drying process.
#4. Preheat Your Dehydrator
Preheat your dehydrator as you would with your kitchen oven. This will help to get a good airflow circulating in the food dehydrator prior to adding in your herbs which will help to eliminate any possible contaminants.
#5. Rinse Herbs In Cool Water
While your dehydrator is preheating, rinse your herbs in a bowl of cool water and then gently shake them to rid excess water. Never rub your herbs dry as this will bruise their leaves.
#6. Remove Leaves With Spots Or Deformities
Once your herbs are rinsed and gently shaken, take some time to remove any leaves that have spots or deformities. You want to be left only with healthy looking herb leaves to dry.
In addition to removing any undesirable leaves, also remove long stems. To save you time from removing all leaves from the stems, you can leave a small amount of stem nearest to the leaves when adding to the dehydrator.
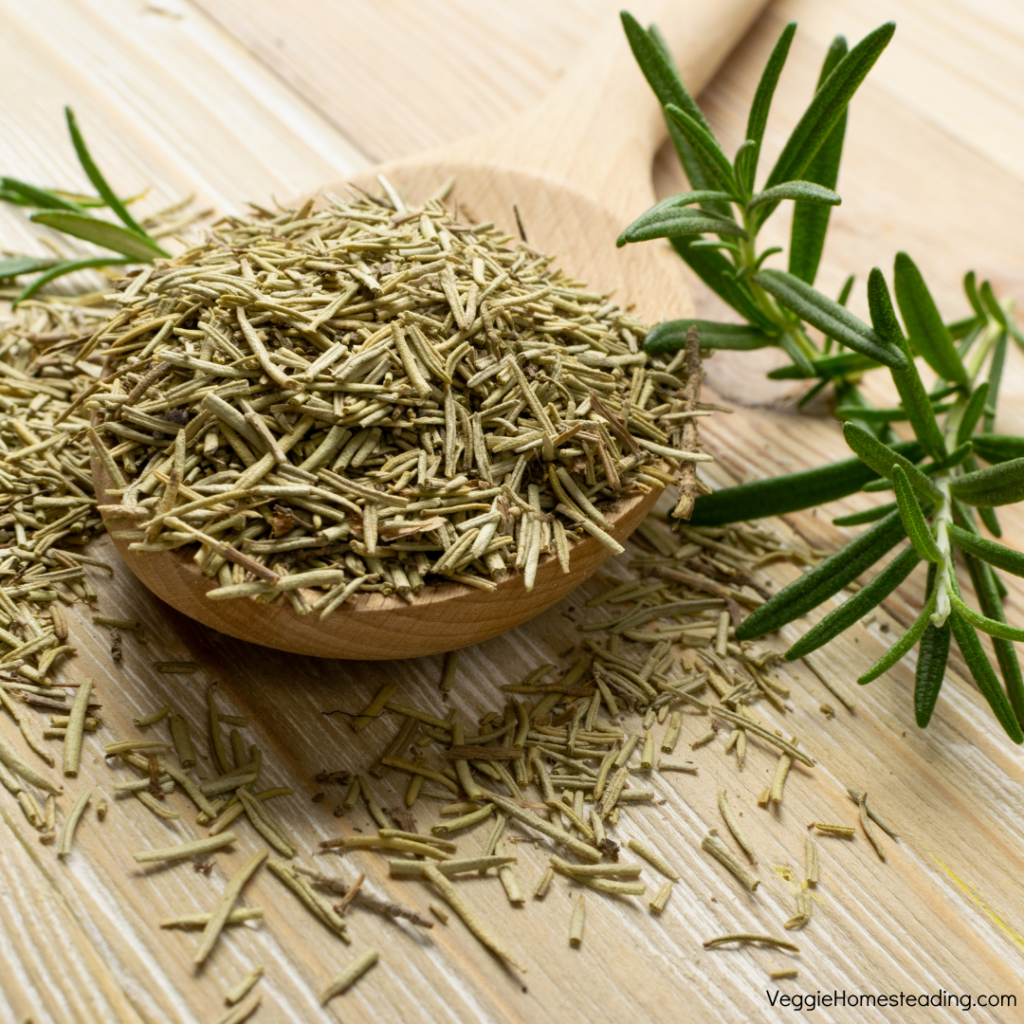
Step By Step Directions For Dehydrating Herbs In A Food Dehydrator
Once you’ve prepared your herbs for adding to your food dehydrator, follow these steps to ensure adequate drying:
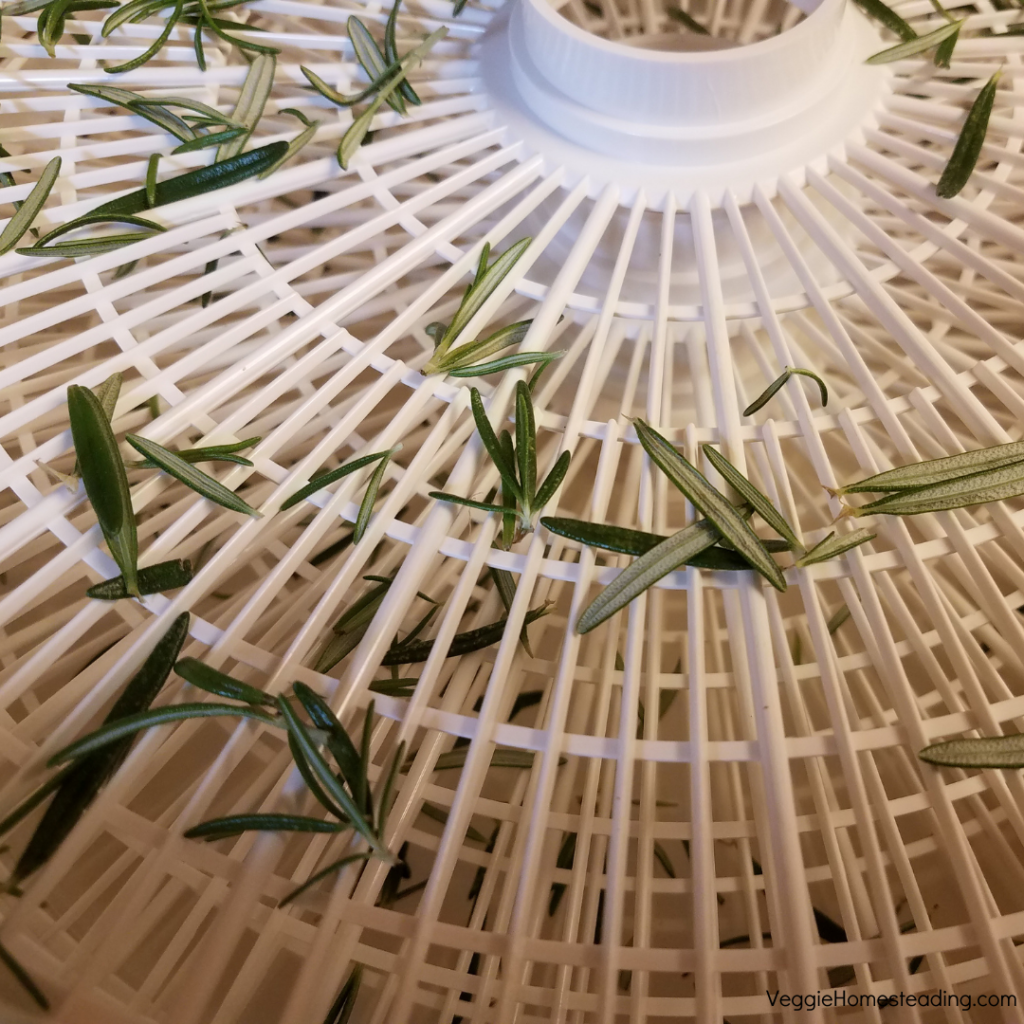
- Remove any trays in your dehydrator that are not necessary. This will allow better air circulation inside the dehydrator which promotes better drying. If you are drying herbs with small leaves, it may be worthwhile lining your tray with a fine screen to prevent any leaves from falling through to the bottom of the dehydrator.
- Place your tray in the preheated dehydrator which is to remain between 95-115F for 1-2 hours. In an environment with higher humidity levels, you may need to dry your herbs at 125F. Lower temperatures ensure the best flavors for dried herbs.
- Once the dehydrating time is up, allow your herbs to sit for 5 – 10 minutes. Dried herbs will have leaves that are brittle and crumble easily with stems that break when you bend them.
- Apart from touching your herbs to test for adequate dryness, you can also place your herb leaves in a sealed zip lock bag for a little while to see whether any moisture has been released through condensation. If yes, dehydrate for longer. If not, then store in a vacuumed sealed bag with Mylar bag or in a mason jar to enjoy later as is or in future recipes!
Now that you have a good overview of the steps required to dehydrate your herbs, let’s pay some attention to the details of the entire dehydration process right up to storage and possible rehydration.
The Time It Takes To Dehydrate Herbs
As with anything that you want to dehydrate, it’s essential that you dehydrate it well in order to avoid residual moisture that can cause the food to spoil as a result of bacteria and rot setting in.
As with any food you dry, aim to get rid of 95% or more of the total moisture in your herbs as anything less will shorten its shelf life and potentially cause it to spoil before you’ve had the chance to enjoy it.
The amount of time it will take to dehydrate herbs is approximately between 1-2 hours at a temperature of 95-115F.
There are also other external factors that you should be aware of, including:
- The humidity level in your area and house where the dehydration is taking place;
- Whether you have crowded your dehydrator tray with herb leaves or spread them out with room to spare; and
- The type of dehydrator you use and the position of its fan. Dehydrators with a fan located at the back tend to do better than those with a fan fixed at the top or bottom, especially if you have two trays occupying space as the second lower tray will always block flow to the first tray.
As mentioned above, it’s best to dry your herbs on the lowest possible heat. Resist the urge to speed up the dehydration process by increasing the heat as this could burn your leaves.
If, at the end of your dehydration time, you are not sure whether you’ve reached the 95% stage, make use of one or all of these tests that will help you to detect whether your herbs have any remaining moisture:
- After 5 – 10 minutes of allowing your leaves to sit after dehydration, check for any moist texture. If they are even slightly moist then it means that they need a longer time in your dehydrator.
- Touch your leaves for dryness. They should be crisp with the stems snapping upon bending.
- After allowing your leaves to cool once dehydration time is done, place a few in a sealed zip lock bag and return a little later to check for any moisture that would have resulted in condensation. If this has occurred then your herbs are not adequately dehydrated and require additional time in the dehydrator.

Alternate Methods To Dry Herbs Without A Food Dehydrator
While drying herbs by way of a food dehydrator is what is considered the best method for home dehydration, there are a few other ways in which you could dry your herbs. Here are a few worth considering if you don’t have access to a food dehydrator:
Oven Drying Herbs
You can make use of your kitchen oven at home to dry your herbs. Simply preheat your oven to a low temperature below 180F ,place your herbs on a cookie sheet and dry for 2-4 hours.
You’ll know that your herbs are adequately dried when they crumble easily.
Sun-Dry Herbs
When referring to sun-drying herbs, it’s important to note that you shouldn’t actually leave your herbs exposed to direct sunlight otherwise they can bleach.
Instead you can make use of the heat from natural sunlight and air to get them brittle. To maximize good air flow to your herbs for drying, try to use something like this Stackable Cloth Mesh Dry Net or if you are concerned about bugs getting on your herbs then this closed mesh hanging net would be ideal. If you’ve hung your herbs outside using the closed mesh net, make sure to bring it in at night to avoid moisture from condensation in the air.
Turn your herbs every 12 hours for 2-3 days before moving on to the storage aspect of drying your herbs.
Microwave Drying
Believe it or not but you can also dry your herbs in the microwave! It certainly won’t give you an end product that will last as long as herbs dried in a food dehydrator but it will still do the trick should you be using your herbs shortly after drying them.
When drying in the microwave, place a maximum of 4-5 herb branches in the microwave at a time, placing them between 2 paper towels. Set your microwave on HIGH for 2-3 minutes. Test for dryness and if they aren’t brittle yet, add them back for an additional 30 seconds.
If you are happy with the dryness of your herbs, allow them to sit to cool for a few minutes before going on to store them.
As with drying your herbs in a food dehydrator, all previous preparatory steps listed in this article are applicable for when drying herbs in your kitchen oven, microwave or when sun/air drying.
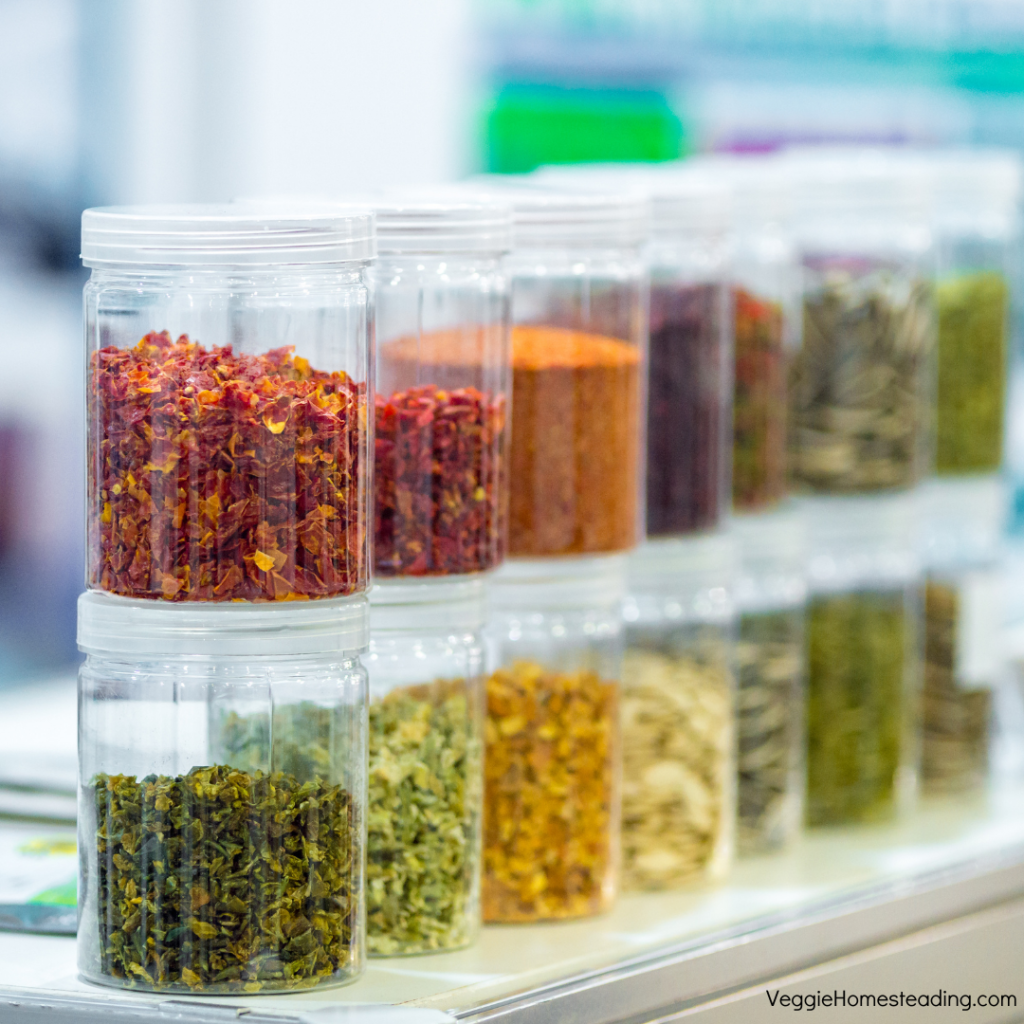
How To Store Dehydrated Herbs
Once you’ve dehydrated your herbs and are happy that no moisture remains, go ahead and store them for future use. Here’s how to properly store herbs:
Where To Store Your Dehydrated Herbs
Dehydrated herbs require a cool, dry place that is free from potential pests such as rodents and bugs and has a good level of cleanliness.
Since moisture and sunlight are the main culprits for degrading dehydrated foods, it makes sense that the location of storage, as well as the storage containers/bags themselves, need to be as free from these two elements as possible.
Common places to store dehydrated herbs include your kitchen, pantry or any other area of your house that is cool, dry and has little sunlight infiltrating the space. This could be your basement or another area I haven’t mentioned. Wherever you decide to store your dehydrated herbs, make sure that they are not sitting close to any household equipment such as dryers or dishwashing machines that emit moisture through condensation.
Supplies And Equipment To Store Dehydrated Herbs
To help your dehydrated herbs have an extended shelf life, it’s best to use the following storage supplies and equipment:
- Sealable vacuum bags using a double-bagging process (for long-term storage);
- Glass jars (typically for shorter-term storage);
- Food grade storage buckets (medium to long-term storage).
Let’s have a look at these 3 main storage supplies and equipment:
Vacuum and Mylar Bags
This is a good option of storage to use if you envisage storing your herbs for a relatively long time before making use of them. It involves vacuum sealing the herbs in a vacuum bag together with oxygen absorber sachets and then placing your vacuum bag inside a heat-sealed Mylar bag (known as “double-bagging”).
The vacuum bag with vacuum seal helps to remove any remaining oxygen which is important as oxygen degrades food and bleaches herbs over time. The double-bagging system using the Mylar bag is to reduce heat and keep out sunlight due to its reflective material.
Glass Jars
Glass Jars like mason jars are also great options for storing dehydrated herbs and perhaps your better option when anticipating using your herbs relatively soon after having dried them. This is because glass jars offer shorter-term storage owing to the fact that they don’t block out as much light as the double-bagging process above and as already mentioned, the light slowly degrades food and bleaches herbs over time.
Food Grade Storage Buckets
This option is good when it comes to storing large amounts of a particular dehydrated food so unless you need to store a large amount of dried herbs, I doubt you would make use of this storage option. Regardless, it’s good to take note of this storage option should you wish to store vacuum sealed bags of herbs in buckets with other dried foods.
If you do use this storage method, be sure to only opt for food-grade plastics as ordinary plastic buckets will leak chemicals into the food from the plastics used.
Make sure that the lid on the bucket can be sealed or closed tightly and add oxygen absorbers to your bucket if you’ve stored your herbs in sealed bags within the bucket. It’s also a good idea to swap out your current bucket for a new one at any sign of deterioration i.e. the lid is not tight anymore or the bucket has already been used for a couple of years.
Having properly dehydrated and stored your herbs, you can expect your herbs to last for a year or so before they start to lose some of their flavor. They will still be good long after that but they won’t have the same intensity of flavor as dried herbs that have been consumed within a year of drying.
Regardless of how you decide to store your herbs, it’s best to store the leaves whole to preserve as much of the flavor as possible, leaving any crushing of the herbs to the time when you intend to make use of them.
Ways To Enjoy Dehydrated Herbs
Dried herbs can be used in pretty much most recipes for adding flavor to a dish.
Of course, they are also great when making your own homemade mixed herb seasonings. Some common herb seasonings used regularly by most households include Italian seasoning, mediterranean seasoning, ranch seasoning and taco seasoning.
Here’s what you’ll need to make these common herb and spice mixes as well as what you can add them to.
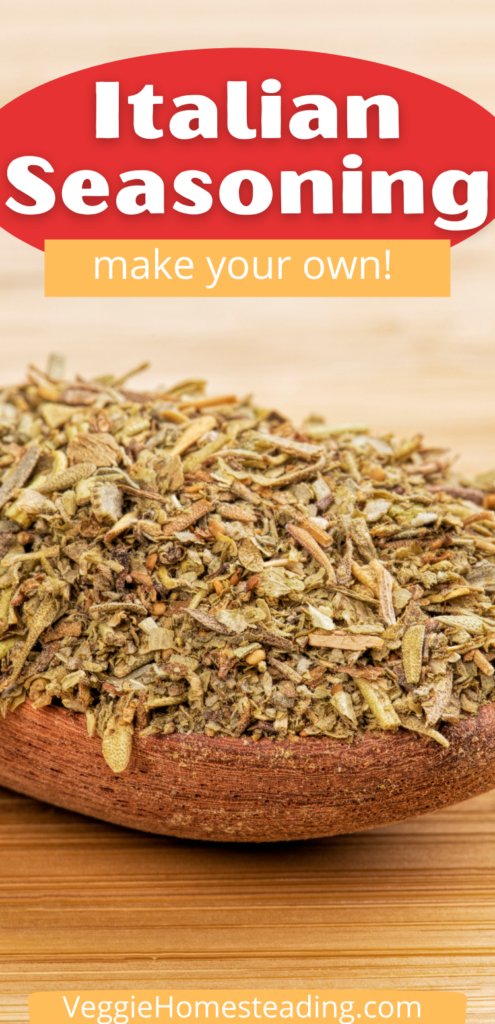
Italian Seasoning
You’ll need:
- 4 teaspoons of basil, oregano, rosemary, and thyme
- 2 teaspoons of garlic powder
Add this seasoning blend to tomato sauce, on fish, in marinades, on poultry or sheet pan roast vegetables.

Mediterranean Seasoning
You’ll need:
- 2 tablespoons of basil, oregano, and kosher salt
- 1 tablespoon of parsley flakes, dried minced onion, and black pepper
This is great with chicken, roast vegetables, and most seafood.
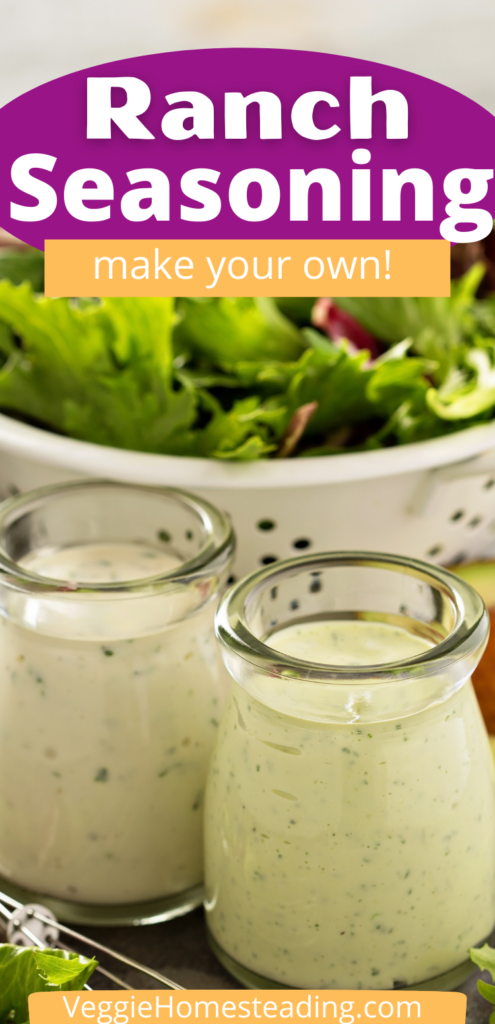
Ranch Seasoning
You’ll need:
- 2 1/2 tablespoons of parsley, garlic powder, and onion powder
- 2 teaspoons of dried dill and dried minced onion
- 1 teaspoon black pepper
- 1 1/2 teaspoons sea salt
Add this to dips, roasted potatoes, homemade ranch dressing and roasted ranch vegetables.
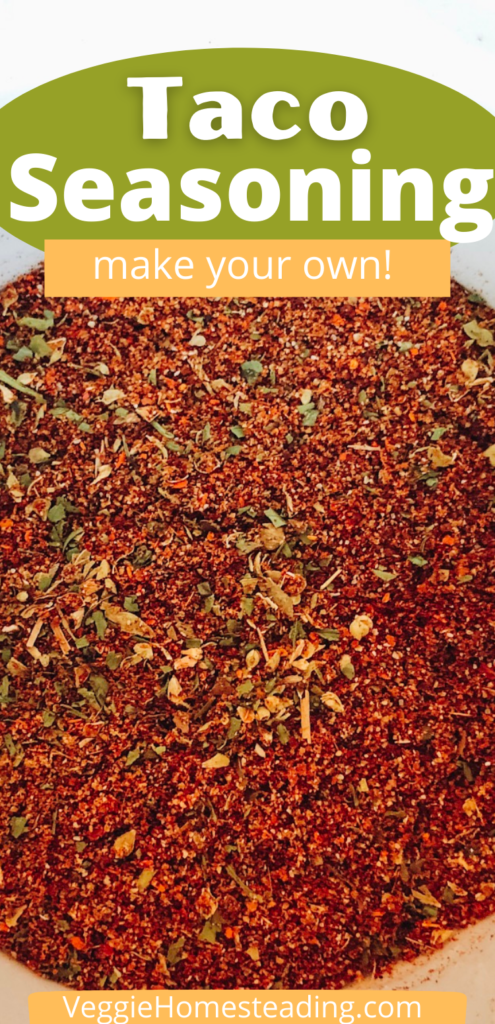
Taco Seasoning
You’ll need:
- 2 tablespoons of chili powder, sea salt and coriander
- 4 teaspoons cumin
- 1 teaspoon onion powder, garlic powder, oregano and smoked paprika
- 1/2 teaspoon black pepper
- 1/4 teaspoon chipotle chili powder (for an extra kick)
This is delicious for tacos, soups, chili dishes, fajitas, kebabs, and grilled chicken.
Whether There’s Any Point To Rehydrating Dried Herbs
Rehydrating herbs by soaking them with hot water will give them added mass although most of the time you’ll be adding your dried herbs to dishes such as soups or using them in a seasoning blend for meat so most people don’t deliberately rehydrate herbs.
Bottom Line
Having dried herbs in your pantry ensures that you get to enjoy your favorite herbs all year round, incorporating them into meals as is or using a variety together with spices to make seasoning blends!
The process of drying herbs is relatively easy and quick. Using a food dehydrator ensures that you get to dry and store long-lasting herbs in a matter of 1-2 hours. While a food dehydrator will produce best results, there’s nothing stopping you from drying your favorite herbs by using the different methods listed in this article.
Anyone can dry herbs and now that you have all the information necessary to get started, why not give it a try?!
Have you tried dehydrating herbs with success? Let me know how it went – I’d love to hear from you.

